Amazon

Saturday, February 15, 2014

My Dream Country Girl Wife


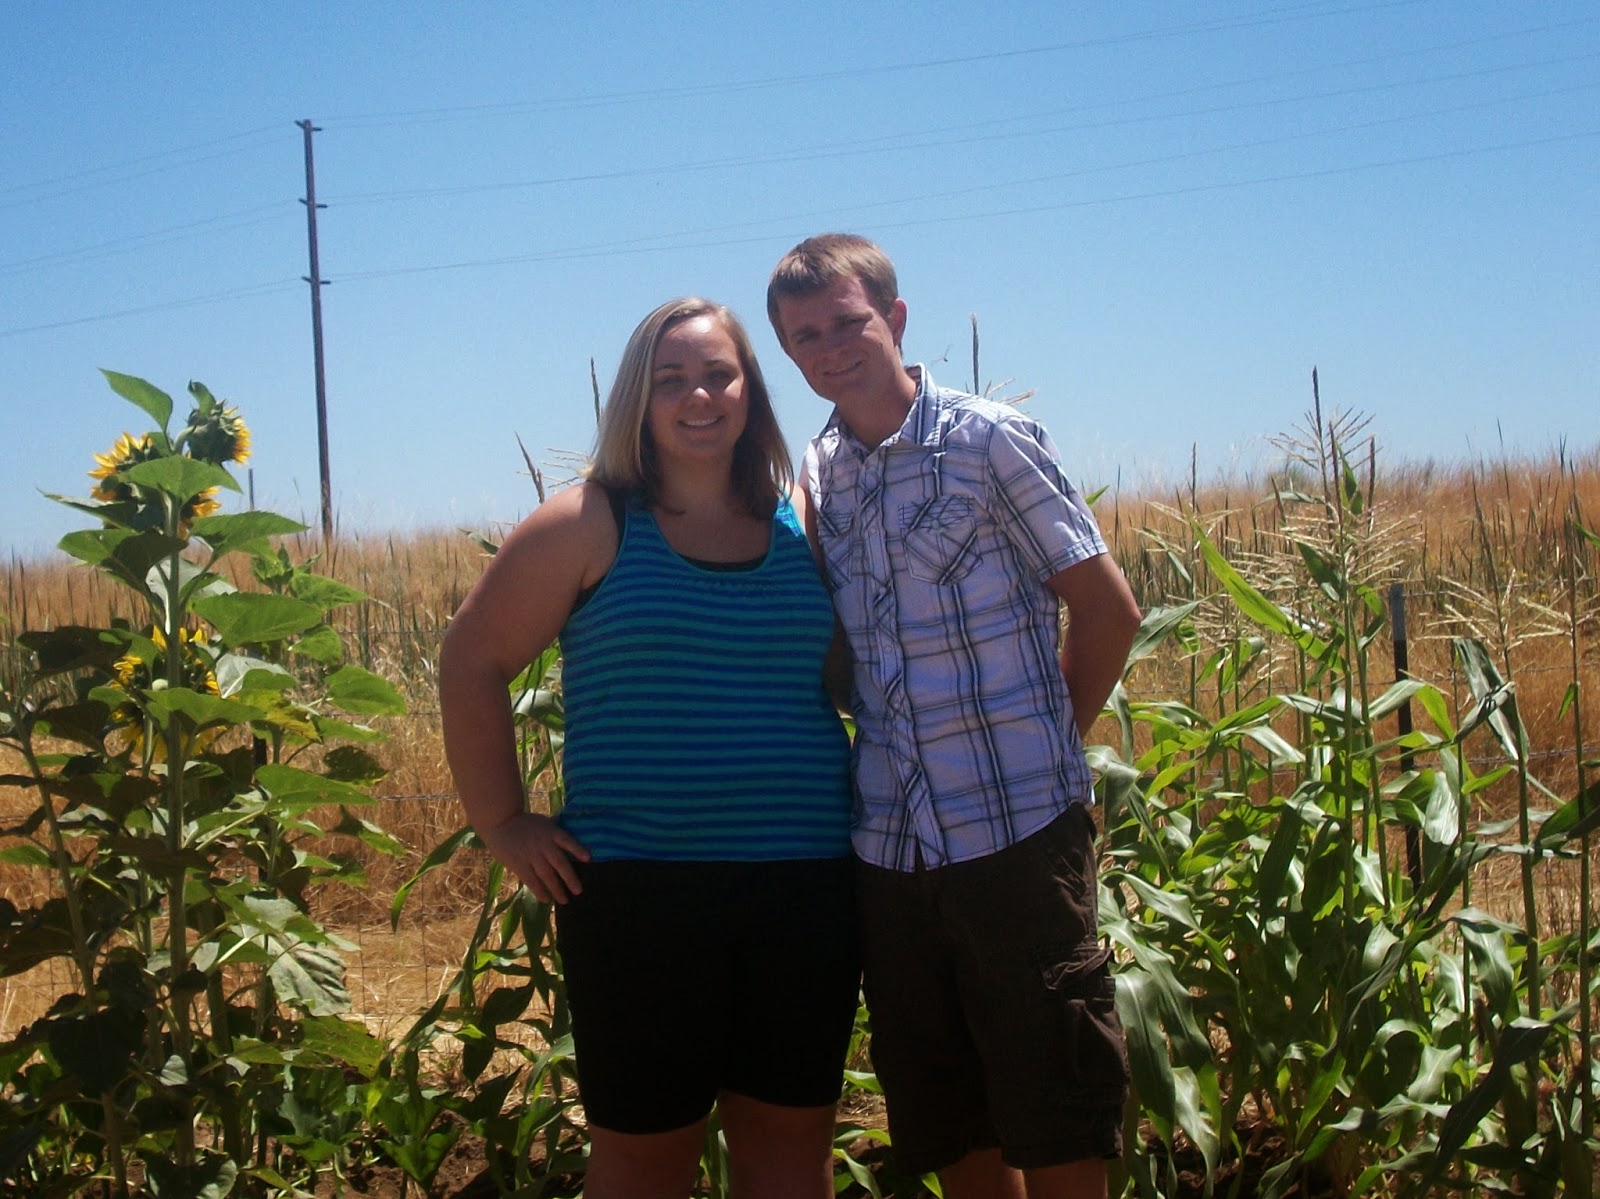
My dream country girl wife is someone who loves me for who I am, someone who adds to my crazy ideas, but is not afraid to tell me when I've gone to far. My dream country girl wife is someone who will lovingly help me with chores around the farm, someone who isn't afraid to get dirty planting the garden, or cleaning out the chicken coop, or helping you cull chickens! My dream country girl wife is someone I met 4.5 years ago! Let me tell you a story.

It's funny how things progress. When I first met my wife, neither one of us wanted this lifestyle of raising farm animals and tilling the ground. My wife and I met on a dating site, like many do these days, we quickly fell for each other and started dating 2 weeks after we met. Why wait when you think you got a keeper? We took our time with the dating process though, we knew marriage was a big deal and a decision for life so we took our time deciding if this was who we wanted to be with for the rest of our lives. I was a mechanic on a local farm, and she lived an hour away from me and was a caregiver. One day my friend posted a book on my Facebook page, I think as somewhat of a tease, but crazy me, not knowing what it was about, I ordered it because I liked the title, it is called "Born-Again Dirt: Farming to the Glory of God" by: Noah Sanders. I got the book and slowly read through it, not because it wasn't interesting, but because I am a slow reader and would easily lose focus. I read the book and was so excited that you could actually farm to the glory of God and the way He actually designed it! So I pursued farming. This is now what I wanted to do, but on a bigger level, I wanted 5,000 acres and combines and tractors! I am not sure what my fiance thought of me at this point, but soon she read the same book and fell in love with this idea of farming.


I ended up marrying my dream country girl wife at the age of 23 in 2012, it was the happiest day of my life! Little did I know that the days were only to get better! After we married, we watched a few documentaries including Food, Inc. and Fresh, which are about farming. If it's done right it can actually heal the land instead of hurt it. The next book we read together is called "You Can Farm" by Joel Salatin. That book really got us inspired to start farming somewhere, this also changed our views on farming and makes us desire to be grass farmers and practice rotational grazing that will heal the land with any animals we get in the future.


So we asked my boss if we could plant a few things on some of his land, and he said yes, we planted corn, tomatoes, watermelon, cantaloupe, peppers, and pumpkin. This experience got us so excited that we were actually involved in something! Our minds were craving for what was next, my friend from work was raising chicken eggs in an incubator to be hatched for a science experiment for his kids. He had asked us if we wanted the chickens after they hatched because he could not take care of them for long, since he lived in an apartment. I crazily said yes, even though we lived in an apartment as well, and had no room for these birds!

We took the birds at about 1 week old, we got all the necessary supplies and raised them in our bathroom, not knowing what the next step would be. By the grace of God, two weeks later our cousins called us and said that one of their rental houses on some land would be available soon! We were so surprised and happy. We moved into the house and we quickly got to work on building a chicken run and coop, Our dreams were coming together, this was a beautiful stepping stone!

We still live at this rental house but have plenty of room for our chickens. We now have 12 hens and 1 rooster, a nice sized garden, and we are going to raise pastured meat chickens on our front and back lawns this upcoming Spring! a lot is happening!

Our chicken run area.
All I can do is thank God for his plan unfolding in my life! My wife and I had no clue that any of this would even come close to happening! I am so grateful that I married my dream country girl wife who loves helping me around the farm and loves engaging in crazy ideas with me! You know you got a keeper when she doesn't get embarrassed that you wear your muck boots to the store! She loves me for who I am and I love her for who she is! She has been the greatest inspiration in my life and without her I don't think I would have ever started farming.  Thank God for my dream country girl wife!


Saturday, February 8, 2014

Pastured Poultry Shelters

Here at Agape Farm we are all about trying new enterprises and finding sustainability in the way we do things, so this year we decided to give a go at raising pastured poultry. We decided to follow the proven design of farming entrepreneur, Joel Salatin.

History of the Floorless Shelter:
Years back, when Joel was raising meat birds as a child, he needed more room to raise these birds. His business was doing well and his father gave him the idea of placing the meat birds in floorless shelters in the pasture. Placing the meat birds in a floorless shelter opened up a whole new ball park for raising birds! Joel quickly found out that by having these birds on pasture they eat less food because they get 15% of their diet off the grasses and bugs in the pasture. Having these birds in a shelter gave them unmatched protection from predators.This design of a floorless shelter quickly took off in the mind of Joel as he began to implement this design on larger scales, Joel says that you can tell if a venture is good if it is scalable, and scalable it is! Joel currently has dozens of these shelters that measure 10' * 12' * 2' high, and each shelter holds 75 birds. The reason why this method is so scalable is because the size of the shelter can easily be reduced and put in someones backyard and still hold the same profit per bird and still be sustainable!

We measured our pasture area and we decided that the size of our shelters would have to be 4' * 6' * 2' high, and hold 15 birds each. We have ordered 25 birds to arrive at the end of March 2014, We will be screwing pieces of plywood to the sides of one of these shelters to make a makeshift brooder house for the baby chicks, we will raise the birds in this brooder for the first 3 weeks and then we will remove the outer plywood and split up the birds and raise them on pasture for the next 5 weeks, We will be moving each shelter to a fresh new piece of pasture each morning, "A fresh salad bar" as Joel calls it.


The Build:

Number one rule in building these shelters: Always use 2"*2" Boards, Not 4"*4", They will make the shelter too heavy!!

Step 1: Figure out the size you need your shelter to be and how many birds you need to house, Each shelter needs to have a minimum of 1.6 Square inches per bird. ex: I went with a 4'*6' Floorplan, 4*6=24 Square feet, 24 Sq Ft / 1.6 Sq Ft Per Bird = 15 Birds, So my 4'*6' Shelter will house maximum of 15 birds.

Step 2: Draw out you design and calculate how much material you will need (again always use 2"*2" boards).
I calculated that I will need a total of 70' 8" of 2"*2" board per shelter so I went a bought 9 8' long boards per shelter.
Main Frame:
Qty 4: 6' Length
Qty 5: 4' Width
Qty 6: 2' Height
Door:
Qty 2: 3' Length of door
Qty 2: 4' 4" Width of door

Step 3: Purchase wood and assemble main frame (see picture below), For this you will need appropriate length screws (I used 2.5" long screws), a screwdriver (I used a cordless electric screw gun), and a drill w/ drill bit (optional: I like to pre-drill all my screw holes to prevent wood cracking).
I built both the top and bottoms separate first and then added the 2' long height boards to the top frame and then assembled that onto the bottom frame.


Step 4: Build in door bracing. The door can be any size you desire, I made mine about half the size of the length of the whole shelter. You want to assemble the height supports and the cross beam.
(See picture below)

Step 5: Build door, All this entails is screwing the 3' boards to the 4'4" boards to make a rectangle (The door is a little floppy until you add the outer wood to it.) The door I built is designed to not be hinged, just sitting on the shelter and moved whenever needed for feeding, watering, This way we can remove it completely when it comes time to remove the chickens for butchering.

Step 6: Install Chicken wire around one side of the shelter and a thin wood around the other I encourage you to find used free material for this, I focus on function over form when it comes to something like this. (The chickens aren't really going to mind how their shelter looks). The thinner the pieces of wood the lighter the shelter will be overall, and moving this shelter everyday, you are going to want it to be as light as possible. (See final picture)


And we're all done! More updates on the pastured poultry sure to come! Check out our Facebook for more information on the farm!
This post may contain affiliate links, Thank you for supporting our farm!


Sunday, February 2, 2014

The Coop

My wife and I built this chicken coop in the fall of 2013. We had no clue how to build a chicken coop but were determined to build one because our chickens were already 14 weeks old and needed a place to call home. So we did a lot of research about different coop designs and how many square feet are needed per chicken. Ultimately we created our own design from all the research that we did and we started.
First we got 4 4*4's and built a brace in the middle of them to hold them together and then around the bottom outer edge we lined it with 2*6's for strength.

Then we installed a piece of 1/2" plywood for the flooring. The next step was to build all the framing for the doors and roosts, we built this out of 2*4's.


We then contacted my brother in law who had connections to peach farmers who hooked us up with old peach props that were pretty much ready for the burn pile, but we knew we could use them, So we meticulously measured and cut each board and screwed it into place. Then all that was needed was to cut the top of the 4*4's to a slant and install the corrugated metal roofing.


 We then installed the roost bars, which were left over bamboo from our fence then hung the waterer and feeder inside. We blocked off the back of the coop where the nest boxes would go until the chicks were a little closer to laying age. We finally put the nest boxes in at about 22 weeks of age and they started laying at 24 weeks of age! We constantly keep a good 4 inches of straw in the bottom of the coop for deep bedding, this also helps keep the smell down by absorbing the pee and poop that comes from the chickens. What the coop turned out to look like was a surprise, we were shocked we built something so usable and beautiful with our bare hands! If you're determined enough you can do anything!! Just go out and get it! The coop's final measurement is 4'*8' and about 4' off the ground and 4' tall.


 One chicken enjoying the new roost bar.

 Nest boxes.
 Our happy flock!

Eggs in the nest boxes!!