Amazon

Monday, January 20, 2014

Our First Eggs!

A few weeks ago our chicks turned 6 months old. For many chickens this is the ideal time to start laying eggs, unless it is the middle of winter, but California wants to act like it is Spring and be in the 70's and have no rain all month... Nice if you don't like the cold, bad if you want to grow food, go swimming in the summer, or drink water :). Since the weather is being strange our chickens are getting enough light and warmth to start laying eggs! On Wednesday hubby checked all of the coop instead of just the nest boxes and came running into the house telling me to come outside. I slipped on my muck boots and went out to the coop, expecting to see maybe one egg, but instead of one egg we found 5!

 I had been letting the chickens out each morning and since I thought the chickens were too young, I was not looking for any eggs, especially in the corner of the coop. Mr. Agape was only checking the nest boxes at night so it was too dark to see the rest of the coop, so to our surprise when we checked in the daytime we found these 5 in the corner. Thankfully normal eggs have a coating on the shell that keeps them good for several weeks with no refrigeration needed, meaning we can enjoy our eggs even if they have been in the coop a few too many days :).


Some other things happening on the homestead include fermenting the chicken food, planting the greenhouse, making flavored kombucha, and milk kefir. Stay tuned for some interesting posts on those!

Happy egg eating! 

Thursday, January 16, 2014

Sourdough Starter

This post may contain affiliate links which helps to support our farm! Thanks for your support!
Have you ever wanted to make your own sourdough bread but felt intimidated by learning you need to have a starter?  The recipes I had always looked up required a lot of ingredients and seemed too complicated to me. Then a few weeks ago I was on Pinterest looking for a recipe for sourdough starter, as my friend had requested it, and found a wonderful recipe from Growing Up Triplets, I definitely recommend following her. She posted a recipe for sourdough starter that required only 2 ingredients! Can you believe it? I couldn't. Now for the even crazier part, the two ingredients are water and flour! Yes, that's it. Wait what about yeast you might be asking. Well, it just so happens there are all kinds of microbes floating around in the air and yeast is also floating around up there too. It's gross to think about, but this is the way bread was made for a long time before yeast was sold in those little packets. This is also why some bread has different flavors depending on where the wild yeast was caught.

In order to start you just need to put 2/3 cup flour in a glass jar with a wide mouth or a bowl, I use a jar because it is easier to store in the fridge. Add 1/2 cup of filtered water and mix it up. Now leave it uncovered on the counter and 24 hours later add 1/2 cup water and 1/2 cup flour to the mix, stir it up and let it sit and in about 24 hours add the 1/2 cup water and 1/2 cup flour to the mix and stir it up again. By now it should have a fermented odor to it and have bubbles growing on top if so it's ready to use!

Sourdough Bread
4 cups of organic whole wheat flour or just white flour
2/3 cup of sourdough starter
1 2/3 cup filtered water
1 T  olive oil
1 T raw honey
1 t salt, preferably Himalayan or Celtic sea salt

Mix all ingredients together in a large ceramic or glass bowl and let sit for about 20 minutes (the batter might be hard to mix with a fork, so letting it sit allows the moisture to be absorbed). After about 20 minutes or so, wet your hands and the counter top and pull the dough out of the bowl. Give it a few rolls and kneads. Place it back into the bowl, cover with cheesecloth or a coffee filter if you used a jar, and let it sit for 12 hours.
After it’s sat for 12 hours, poke it. The dough should retain the dent your finger made (if it doesn’t, let it rise a little longer). Pull it out with wet hands onto a wet counter. Knead a couple more times and place into a greased loaf pan. Cover and set aside to rise about 12 hours.
Preheat oven to 400 degrees, remove cheesecloth and bake for 8-10 minutes. Bump the heat down to 350 and bake for 45-50 minutes. The loaf should sound hollow when you knock on it. Remove from oven and let cool. Remove from pan and enjoy!

To keep your starter alive, just feed it the 1/2  cup flour, 1/2 cup water mixture once a week to once a month and leave in the fridge covered with cheesecloth or a coffee filter.

Monday, January 13, 2014

Banana Crumb Muffins


When those brown bananas start to look sad and just stare you in the face, what's a girl to do? Make banana bread of course! However, whenever I make banana bread it never gets eaten. So I decided I wanted to make banana muffins instead. My wonderful cousin gave me a cookbook when I got married, it's from a small town in Iowa, and I knew there had to be a good muffin recipe in there! Sure enough I found a recipe for banana crumb muffins. These muffins are moist, sweet, and filling! With less than a cup of sugar they are pretty healthy too! I think the sugar content could be lowered and of course honey would make a great substitute. Since I love cinnamon and vanilla in my recipes I added it, but you can leave it out if you don't like cinnamon and vanilla.


Recipe adapted from Monica Cookbook Orange City Christian School page 134 (Leslie Huizenga).

Grease a 12 cup muffin tin and preheat oven to 375.

Muffins:
1-1/2 cups flour
1 tsp. baking soda
1 tsp. baking powder
1/2 tsp. salt
1 tsp. cinnamon
3 mashed bananas
3/4 cup sugar (could probably do 1/2 cup)
1 egg, lightly beaten
1/3 cup butter, melted
1 tsp. vanilla
For Crumb Topping:
1/3 cup packed brown sugar
2 Tbsp. flour
1/8 tsp. cinnamon
1 Tbsp. butter

In large bowl, combine flour, b. soda, b. powder, salt, and cinnamon. In another bowl, beat the bananas, sugar, egg, melted butter, and vanilla. Stir the banana mixture into the flour ingredients until just moist, this is the secret to a good muffin, don't overmix. Spoon into the greased muffin tin. In a small bowl mix the crumb topping ingredients until resembles coarse cornmeal. Sprinkle on top of muffins and bake at 375 for 18-20 minutes.

Friday, January 10, 2014

Essential Oils


I have only used a few essential oils in the past, so I do not have a lot of experience with them. However, I have heard wonderful stories of how great they are and they can be life changing for some people. As we try to be more natural in all that we do, I think essential oils are a good thing to use, I believe God gave us plants to put to use. So many plants have wonderful healing properties to them and we should be thankful for them! After doing some research and prayer I have decided to become a distributor for Young Living Oils! I am very excited to get my starter kit and to start using the oils and learning more about how to use them. If you would like to purchase some or have any questions, please contact me on here or through our Facebook page https://www.facebook.com/agapefarmfhl. Or if you already know lots about essential oils and want to become a distributor yourself or just purchase some of your favorites, I would love it if you would use my link :) http://bit.ly/1a6REg6. Thanks! 

Update: I have been using my Young Living Oils for about a month now and I am really loving them! From purifying the air to helping take pain away they work great!
Here's a few ways I've used them: 
Headaches, paper cuts, backaches, mosquito repellent, mosquito bites (when I forget to put the repellent on), toenail fungus, dry skin, anxiety problems, not sleeping well, detoxing, and pain relief from a surgery I had a few months ago. I'm absolutely loving my oils and not needing to use conventional medicine! I want you to experience how great they are too!

Here's a few uses for some of the oils!


Medicine Makeover Using Young Living Essential Oils

Wednesday, January 8, 2014

Dehydrating Cranberries.

So beautiful.

It's been a busy week here on our little homestead. I have had a big bag of cranberries sitting in the freezer, just staring at me everytime I open the door, well remember I got this for Christmas from Mr. Agape? I decided I better put it to use on those cranberries. I got it out of the package and washed and dried it and set it up. To prepare the cranberries, you bring a big pot of water to a rolling boil and drop in the cranberries, next time I will do half a bag at a time, and let the skins split. After about 2 or 3 minutes, or when the skins are split, drain the berries well and place on the dehydrating racks. If it looks like the skins are not split, press on the cranberries with a spoon otherwise they will not dry well. Put them in your dehydrator evenly spaced out, then turn it up to 135 degrees and leave for about 16 hours. Mine took much longer, about 20 hours, because I left them in the water too long waiting for the skins to split, likely because I dumped the whole bag in at once. Once they look dry enough remove and store, since they do not have any preservatives they will likely still need to be stored in the freezer or fridge. I can't wait to try them in cookies and muffins. Yummy!
Happy dehydrating!
Final product. No filter sure makes a difference ;)

Friday, January 3, 2014

Happy New Year!


This has nothing to do with the post but I love this picture :)
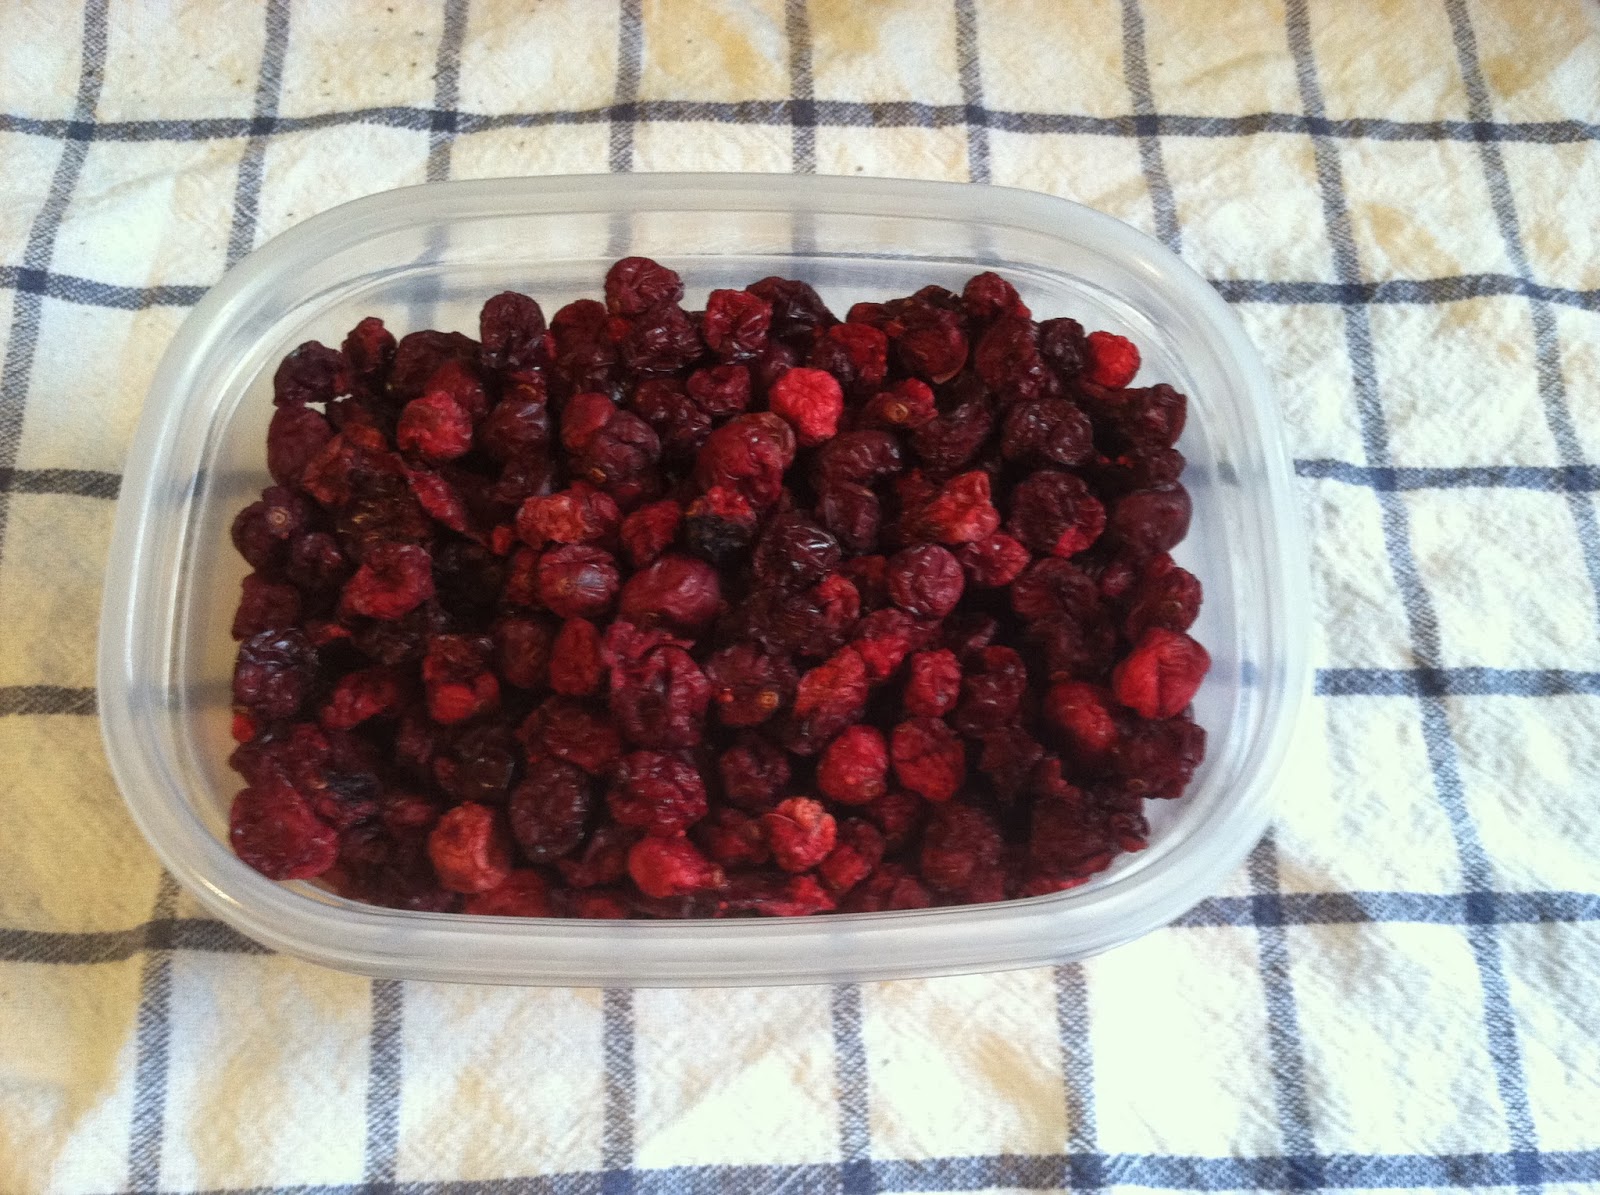
It's been a while since we have posted anything. We hope you had a blessed Christmas season and a safe New Year's celebration. We enjoyed time with family and friends over the holiday. "Mr. Agape" had to work most of the time, so I was able to stay with my family and spend much needed time with my nieces, nephew, and friends. We were blessed with some wonderful Christmas gifts. My two favorite were from my husband. Hubby got me this dehydrator, which I am making dehydrated cranberries in as we speak! Hopefully they turn out well so I can do a post. He also bought me a pressure canner/cooker which I am super excited to start canning some of the goodies from our garden. Everyday I desire to do things more naturally. It's interesting how I desire to go back to the ways of my grandparents and great-grandparents.I hope to start making candles soon. Another adventure I would like to try is soap making.
I have been also trying to crochet, but I am not too great at that. YouTube tutorials are great for this! If all else fails, I will just use my knitting loom :). It's super simple and hard to mess up.
On the farm we are hoping to build a small greenhouse to get our seeds going early. Our chickens are loving their coop and are finally coop trained, meaning they go in at night, which is much better than having to try to catch them every night. We were truly blessed in 2013 and cannot wait to see what the Lord brings us in 2014.
Some of our farm goals for the year:
1. Get a pig.
2. Try out electric fencing.
3. Eat our own eggs (this is really a goal we have for the hens).
4. Find a good source of grass-fed beef.
5. Eat less processed food and more homemade food.
What are some of your goals for the New Year?
Happy New Year!!